How To Epoxy Coat
A Garage Floor
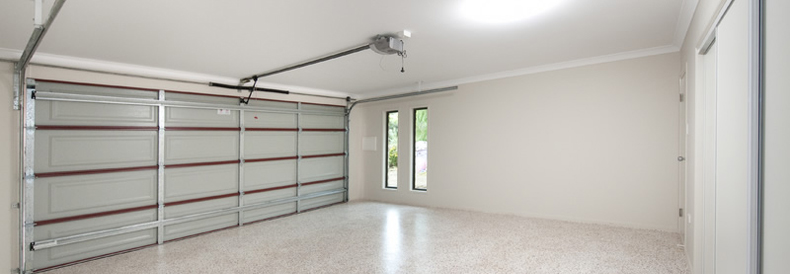
We know that the installation process of epoxy flooring is one of the most advanced installation processes of any flooring system on the market today. From making sure the slab is perfectly clean to profiling the concrete, there are some areas of this process that can make you run away from doing it yourself. While asking for a professionals help is never a bad idea if you don’t think you can handle it yourself, we are here to teach you the basics of installing your very own epoxy flooring system in the garage. Down below, you will find the same steps that the professionals take to ensure a strong bond, attractive finish, and a long-lasting flooring system. So let’s get started!
Epoxy Flooring Systems
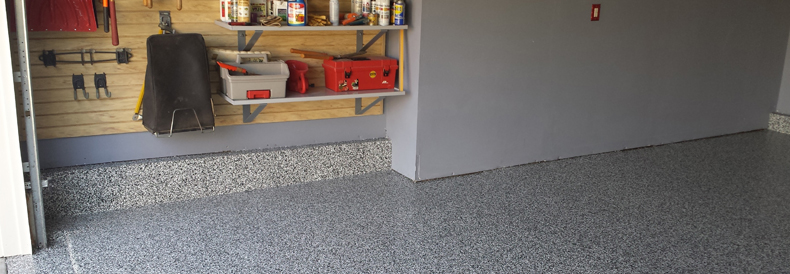
The first step of any epoxy installation is the repair of any disformities to the concrete slab. These damages are most likely cracks, weathering or stains affecting the slab. To repair cracks, you have the option of using an epoxy-based filler or a concrete based filler depending on the size of the crack. For any weathered spots, mix up some cement-based material and use a trowel to fill the area and smooth it out to be level with the rest of the slab. As far as stains are concerned, make sure to use a material that won’t leave any residue on the concrete that will be hard to remove, you’ll thank yourself later.
Step Two- Profiling The Slab
This is the step that can leave many homeowners asking for the help of an epoxy flooring contractor but don’t be intimidated! To profile the slab, you have 2 major options, diamond wheel grinding or shot blasting. Diamond wheel grinding is the most conventional form of profiling for its fast turn arounds and easy cleaning process. For diamond wheel grinding, you will need to head to your local hardware store to rent a grinder, industrial is the best option but if your garage isn’t that big, you can use a 7-inch grinder to save money, just be careful not to over grind the surface or leave any large indentations. The goal is to remove a thin layer of concrete to expose its pores so the epoxy can form a tight bond. If using a grinder, make sure to attach it to a vacuum to reduce dust, concrete dust is very dangerous to breathe.
Step 3- Cleaning The Slab
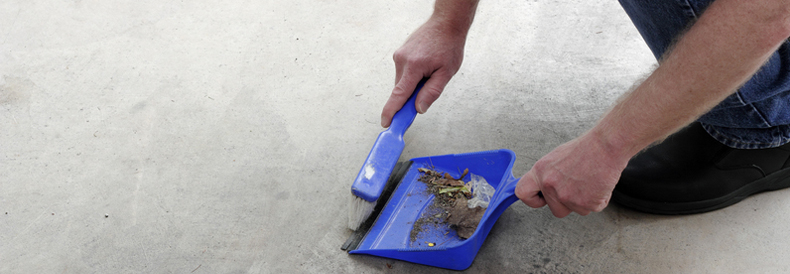
The key to a long-lasting finish to make sure that your concrete slab is as clean as possible before installation. To properly clean the surface of the slab, we recommend the use of a high output pressure washer capable of at least 3,500 PSI. This will remove any small specs of dirt or dust from the pores of the concrete. If you see any form of beading water during this process, make sure to wax and grease remove the area resisting water and wash it down again. After you are sure that the surface of the slab is clean, wait for the water to dissipate before begging the installation process of epoxy flooring. Blowers and vacuums can be used to speed up the process of drying or if it isn’t hot enough outside.
Step 4- Coating The Epoxy
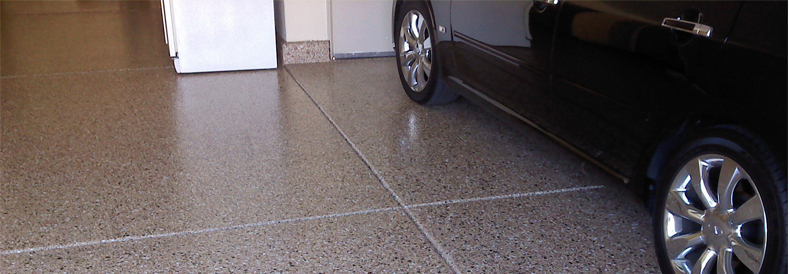
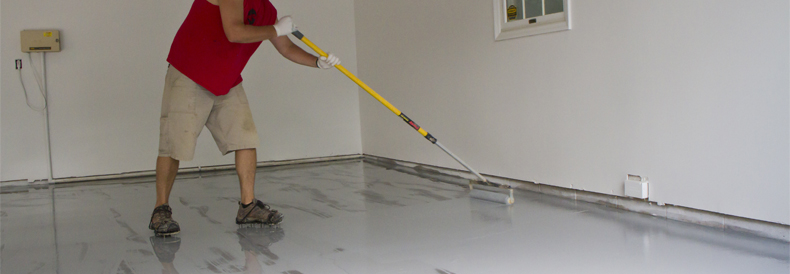
After you have mixed your epoxy to the specifications of the material you are using, its time to finally coat your concrete with epoxy. For areas like garages, the most efficient application method is with a roller but for larger garages, a squeegee can be used to speed up the process. When applying the epoxy, make sure to take your time by doing one concrete square at a time and work your way out of the garage so you don’t get trapped inside. Remember to not let your roller go dry during application to keep a consistent coating and once you apply the coating in one direction, apply another layer in the opposite direction, creating a crossing pattern. If your slabs are large, you can coat half of the slab at a time, overlapping and smoothing the material where it meets in the middle.
Cure Times
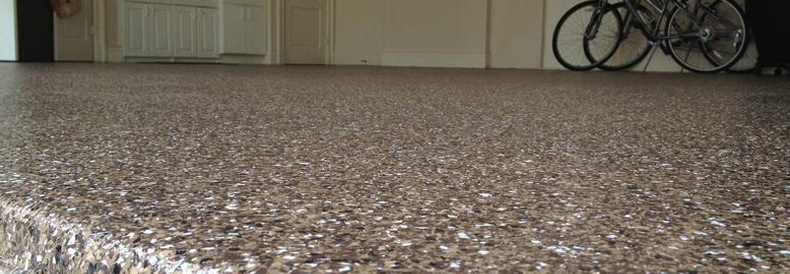
Depending on the type of epoxy you use, make sure to allow the epoxy to cure an allotted amount of time before walking on the material; typically 24 hours, and before driving on the epoxy; typically 72 hours. To promote a faster cure, don’t close your garage door all the way, leave it cracked. Avoid installing epoxy on days that have high winds or rain forecasted for the installation and cure times or you may face bubbling, cracks or peeled coatings.
